

You know that moment when you’re sitting around a campfire, toasting marshmallows to the perfect golden brown, ready to sandwich them between chocolate and graham crackers? Now imagine all that deliciousness packed into a rich, fudgy brownie. Yep, that’s exactly what we’re doing today—turning the classic s’mores experience into a dessert you can make in your kitchen, no firepit required.
These S’mores Brownies have everything: a buttery graham cracker crust, a dense and chocolatey brownie center, and a perfectly gooey marshmallow topping that toasts up beautifully in the oven. Whether you’re making these for a party, a weekend treat, or just because you need a little chocolate therapy, this recipe is an absolute winner.
So grab your mixing bowl and let’s bring the campfire vibes straight to your kitchen. Trust me, one bite, and you’ll be hooked!
Table of Contents
Why You’ll Love These S’mores Brownies
A Classic Flavor Combination with a Twist
S’mores are already an unbeatable dessert, and brownies? Well, they’re a chocolate lover’s dream. Mixing the two together gives you the best of both worlds—crispy, chewy, and gooey in every bite.
No Campfire Needed
Love s’mores but don’t have a firepit? No problem! These brownies bring all the toasted marshmallow goodness straight to your oven. No smoky clothes, no waiting for the perfect flame—just pure, melt-in-your-mouth deliciousness.
Perfect for Any Occasion
Whether you’re baking for a summer barbecue, a cozy fall night, or just a random Tuesday, these s’mores brownies are always a good idea. They’re great for sharing, but let’s be honest—you might want to keep them all to yourself.
Easy to Make, Even Easier to Eat
Anyone can whip up these brownies with simple ingredients and a straightforward process. There is no fancy equipment or complicated steps—just mix, bake, and enjoy!
Ingredients You’ll Need
For the Graham Cracker Crust
A s’mores dessert wouldn’t be complete without that classic graham cracker crunch. This buttery, slightly sweet crust forms the perfect base for your brownies. Here’s what you’ll need:
- Graham cracker crumbs – The foundation of the crust, giving it that signature s’mores flavor.
- Melted butter – Helps bind the crumbs together and adds richness.
- Sugar – Just a little to enhance the sweetness.
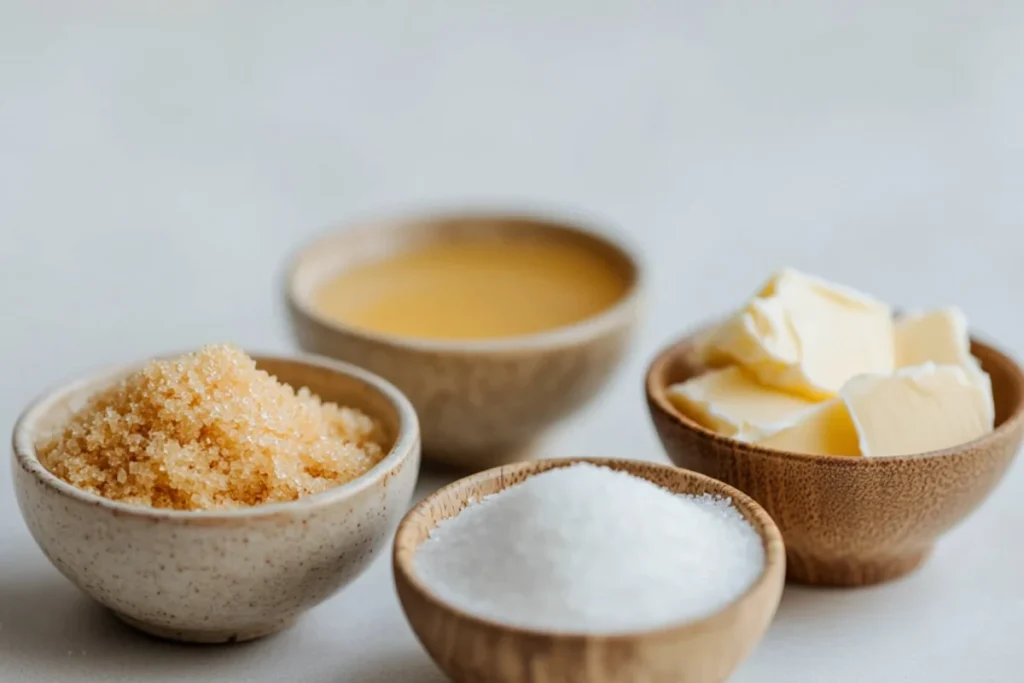
For the Brownie Layer
This is where the fudgy magic happens. These brownies are thick, chocolatey, and irresistibly rich.
- Butter – Melted for a smooth, velvety texture.
- Sugar – Sweetens and balances the cocoa.
- Eggs – Essential for structure and chewiness.
- Vanilla extract – Adds depth to the chocolate flavor.
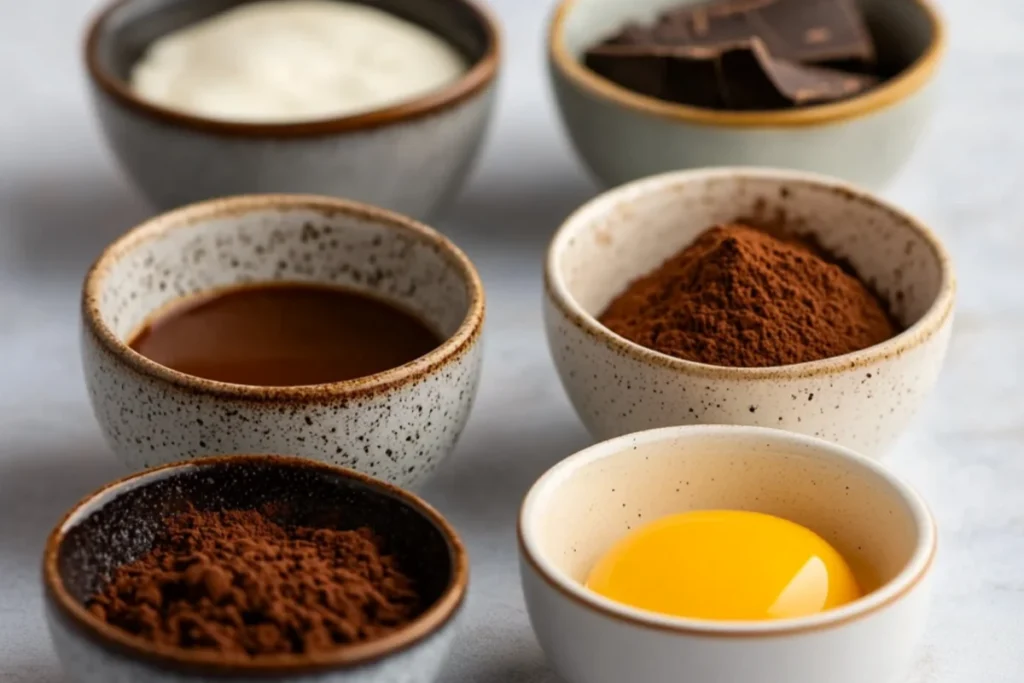
- Cocoa powder or melted chocolate – You can go with either (or both!) for deep, rich chocolate taste.
- Flour – Gives the brownies the perfect consistency.
- Salt – A pinch enhances all the flavors.
For the S’mores Topping
The final layer brings it all together—melty, toasty, and oh-so-satisfying.
- Mini marshmallows – The star of the show, creating that gooey, toasted finish.
- Graham cracker pieces – Extra crunch for more of that classic s’mores texture.
- Chocolate chunks or bars – Because you can never have too much chocolate!
With these simple ingredients, you’re just a few steps away from the ultimate s’mores-inspired treat!
Step-by-Step Instructions
1. Prepare the Graham Cracker Crust
Before you even think about brownies, you need that classic s’mores crunch at the bottom.
- Preheat your oven to 350°F (175°C) and line a baking pan with parchment paper.
- In a bowl, mix graham cracker crumbs, melted butter, and sugar until it looks like wet sand.
- Press the mixture firmly into the bottom of the pan to form an even layer.
- Bake for 8–10 minutes, then let it cool while you move on to the brownie batter.
2. Make the Fudgy Brownie Batter
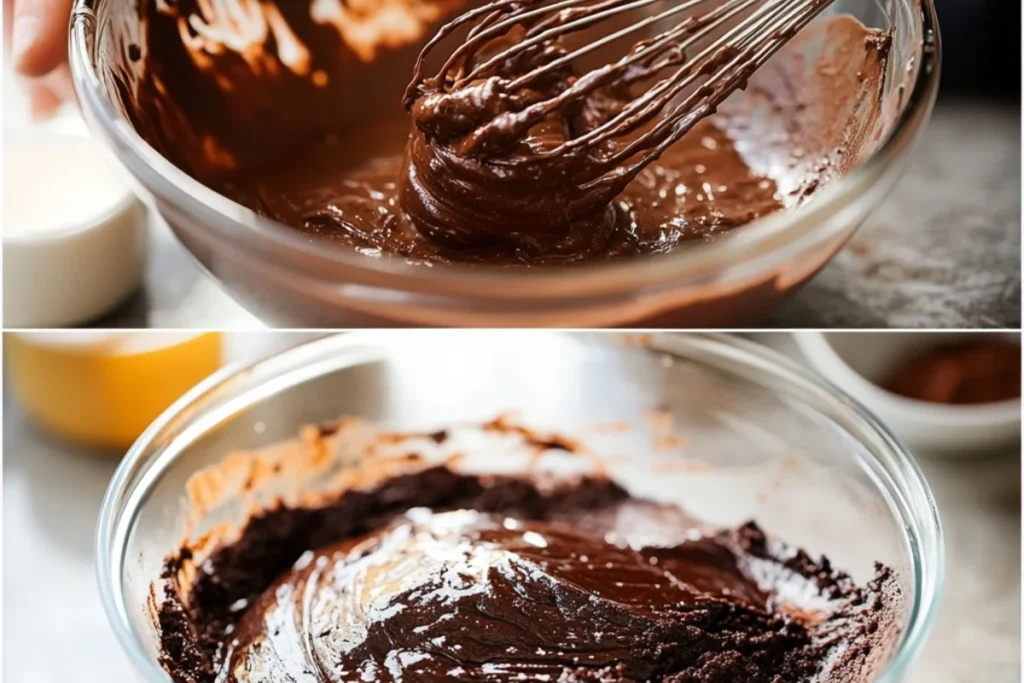
Time to whip up a rich, chocolatey brownie base.
- Melt butter and chocolate together until smooth (you can use a microwave or stovetop).
- Whisk in sugar, eggs, and vanilla extract until well combined.
- In a separate bowl, mix flour, cocoa powder, and salt, then slowly add this to the wet ingredients.
- Stir everything together until you have a thick, glossy batter.
3. Bake the Brownie Layer
- Pour the brownie batter over the pre-baked graham cracker crust and smooth it out evenly.
- Bake for about 20–25 minutes, or until the center is just set. A toothpick should come out with a few moist crumbs.
4. Add the S’mores Topping
Here’s where the magic happens!
- Sprinkle mini marshmallows, graham cracker pieces, and chocolate chunks all over the top of the brownies.
- Return the pan to the oven for another 5–7 minutes, just until the marshmallows start to puff up and turn golden brown.
5. Broil for the Perfect Toasty Finish
If you want that classic campfire look, turn on the broiler for 30–60 seconds. Keep a close eye on it—those marshmallows toast fast!
6. Cool, Slice, and Enjoy
- Let the brownies cool for at least 20 minutes before slicing (yes, it’s hard to wait, but it’s worth it!).
- Use a sharp knife to cut into squares—wipe the blade between cuts for clean slices.
- Now, grab a piece, take a bite, and enjoy that gooey, chocolatey goodness!
That’s it! Easy, right? These s’mores brownies are ridiculously good and impossible to resist.
Pro Tips for the Best S’mores Brownies
Get That Perfect Fudgy Brownie Texture
- Don’t overbake – The brownies will continue to cook as they cool, so take them out when they’re slightly underdone in the center.
- Use high-quality chocolate – The better the chocolate, the richer the flavor. Go for real chocolate bars instead of chocolate chips for the best melt.
- Let them cool before slicing – It’s tempting to dig in right away, but letting them rest helps everything set up properly.
Make Your Marshmallows Extra Toasty
- Use the broiler – A quick blast under the broiler gets you that classic campfire char.
- Torch them for an even crispier top – If you have a kitchen torch, lightly toast the marshmallows for extra caramelization.
Avoid a Sticky Mess When Slicing
- Grease your knife – Lightly coat your knife with cooking spray or warm it under hot water before cutting.
- Use a serrated knife – This helps cut through the marshmallow layer without dragging it.
Storage Tips to Keep Them Fresh
- Room temperature – Store in an airtight container for up to 3 days.
- Refrigerate for longer storage – They’ll stay good for about a week in the fridge.
- Freeze for later – Wrap individual pieces in plastic wrap and store in a freezer bag for up to a month. Just pop one in the microwave when you’re ready to enjoy!
These little tricks make sure your s’mores brownies turn out absolutely perfect every single time.
Fun Variations to Try
Peanut Butter S’mores Brownies
If you love the combo of peanut butter and chocolate, this one’s for you.
- Swirl creamy peanut butter into the brownie batter before baking.
- Sprinkle peanut butter chips on top for an extra nutty touch.
- Finish with crushed peanuts for a little crunch.
Salted Caramel S’mores Brownies
A little caramel makes everything better.
- Drizzle salted caramel sauce over the brownie layer before baking.
- Add a sprinkle of flaky sea salt on top of the toasted marshmallows.
- Want extra indulgence? Swirl caramel into the marshmallow layer before broiling.
Nutella S’mores Brownies
For all my Nutella lovers out there, this version is dangerously good.
- Spread a thick layer of Nutella between the graham cracker crust and brownie batter.
- Swirl Nutella into the brownie batter before baking.
- Top with extra chopped hazelnuts for a little crunch.
Gluten-Free S’mores Brownies
Need a gluten-free option? No problem!
- Use gluten-free graham crackers for the crust.
- Make sure your brownie mix or flour blend is gluten-free.
- Follow the same steps, and you’ll get the same gooey, delicious results.
These S’mores Brownies pair well with other delicious desserts from Innovate Recipes:
- If you love gooey chocolate desserts, check out Chocolate Lava Cakes for an irresistible molten treat.
- For another rich chocolate experience, try this Triple Chocolate Cake Recipe that’s packed with deep cocoa flavors.
- Enjoy experimenting with brownies? Discover the secret to a unique twist in Cottage Cheese Brownies!
These easy swaps and additions take your s’mores brownies to the next level—so don’t be afraid to get creative!
How to Store and Reheat S’mores Brownies
Best Way to Store Leftovers
If you somehow have leftovers (which is rare, let’s be honest), here’s how to keep them fresh:
- At room temperature: Store in an airtight container for up to 3 days. Keep them in a cool, dry place.
- In the fridge: If you want them to last longer, store them in the fridge for up to a week. The marshmallows might firm up, but a quick reheat fixes that!
- In the freezer: For long-term storage, wrap each brownie tightly in plastic wrap, then place them in a freezer-safe bag. They’ll keep for up to a month.
How to Reheat for That Fresh-Baked Taste
Want that gooey, just-baked experience again? Here’s how to bring them back to life:
- Microwave: Heat individual brownies for 10–15 seconds for warm, melty marshmallow goodness.
- Oven: Preheat to 300°F (150°C) and warm for 5–7 minutes to crisp up the graham cracker base.
- Toaster oven: Works like a mini oven—just heat at a low temp for a few minutes.
Pro tip: If you’re reheating from frozen, let the brownies sit at room temp for 15 minutes before warming them up. That way, they heat evenly without drying out!
FAQs About S’mores Brownies
What are some fun facts about brownies?
- Brownies were accidentally invented when a baker forgot to add baking powder to a chocolate cake recipe.
- The first known brownie recipe appeared in the early 1900s in a Sears Roebuck catalog.
- There are three main types of brownies: fudgy, cakey, and chewy—each with a different texture based on the ratio of fat to flour.
- Some people love the crispy edges, while others go straight for the gooey center pieces!
What is a fun fact about s’mores?
- The first official s’mores recipe appeared in a 1927 Girl Scouts handbook, calling it a “Graham Cracker Sandwich.”
- The name “s’mores” is short for “some more,” because, let’s be real, no one ever eats just one.
- August 10th is National S’mores Day, which is basically an excuse to eat chocolate and marshmallows all day long.
What happens if you put two eggs in brownie mix?
- Adding two eggs to brownie mix is the standard for most recipes, but if you add an extra egg, you’ll get a more cake-like texture.
- If you reduce the eggs, your brownies will be denser and fudgier.
How to keep brownies soft and moist?
- Don’t overbake them! Take them out when the center is slightly underdone—they’ll set as they cool.
- Store in an airtight container to prevent them from drying out.
- Wrap them individually in plastic wrap to lock in moisture.
- A slice of bread trick: Place a slice of white bread in the container with the brownies. The brownies absorb the moisture from the bread, keeping them soft.
Why do my brownies get hard after they cool?
- Overbaking is the number one reason—try taking them out 2–3 minutes earlier next time.
- Exposure to air dries them out—store them in a sealed container.
- Using too much flour or not enough fat can lead to a drier texture. Stick to the recipe ratios!
What is the secret to chewy brownies?
- Use more brown sugar – It adds moisture and chewiness.
- Add an extra egg yolk – The yolk gives structure while keeping them soft.
- Melt the butter instead of creaming it – This helps create a dense, chewy texture.
- Let the batter rest for 10 minutes before baking – This hydrates the flour and improves chewiness.
Final Thoughts on S’mores Brownies
If you love s’mores and brownies separately, then putting them together is a no-brainer. These S’mores Brownies bring all the gooey, chocolatey, and crunchy goodness of a campfire treat—without needing to start a fire. Whether you’re making them for a party, a cozy weekend, or just because you’re craving something sweet, this recipe is a guaranteed hit.
So now it’s your turn! Grab your ingredients, whip up a batch, and let me know how they turn out. Are you a crispy marshmallow fan or do you like them just barely toasted? Leave a comment below or tag me in your dessert photos—I love seeing your creations!